School Administration System ...
Tuesday, September 23, 2025 - 0 comments
The School Operations Module of the School Administration System (SAS) provides a comprehensive digital platform for managing the academic lifecycle of students. From admissions and classroom management to examinations and report cards, this module ensures accuracy, accountability, and transparency in all school activities.
The enrollment process begins with an admission offer and ends with a student being fully onboarded into the system.
Steps to Create an Admission Offer
Navigate to Admission → Offers.
Select Create New Offer.
Fill in the required details:
Class (e.g., JSS2)
Full Name
Phone
Date of Birth
Gender
State
Type of Enrollment (Day/Boarding)
Select Apply.
Outcome:
Accepted → Student is onboarded, assigned a unique Student ID, and placed in the designated class.
Rejected → Application is closed and archived.
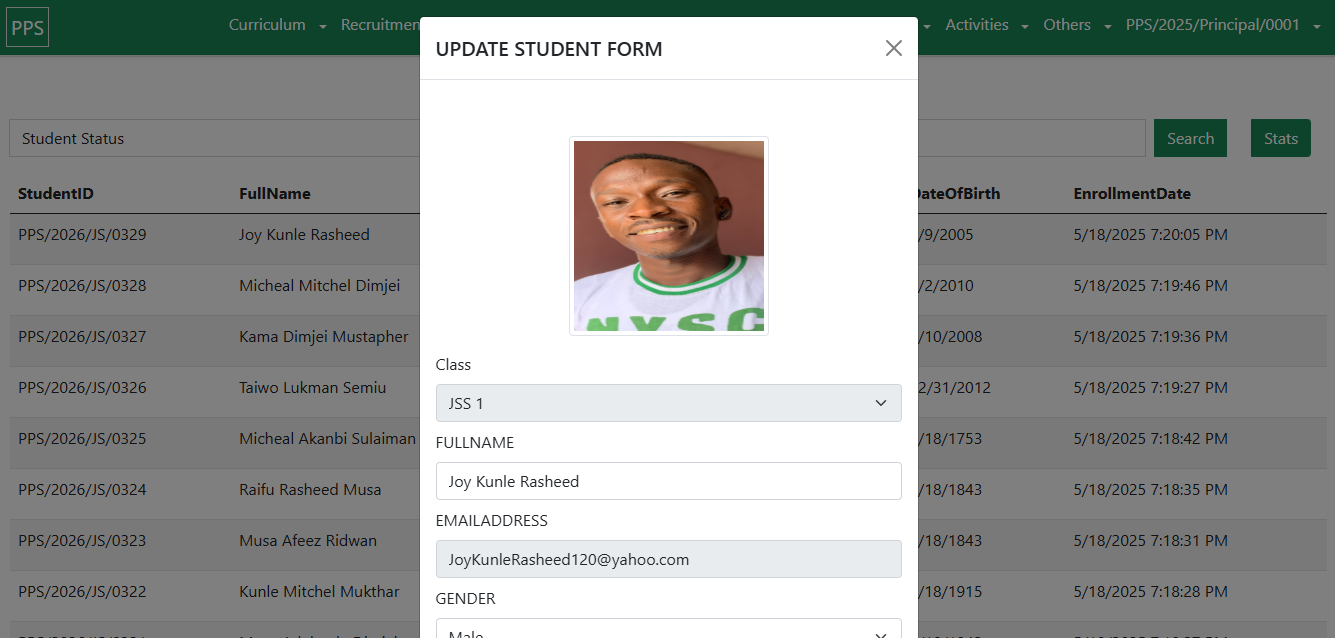
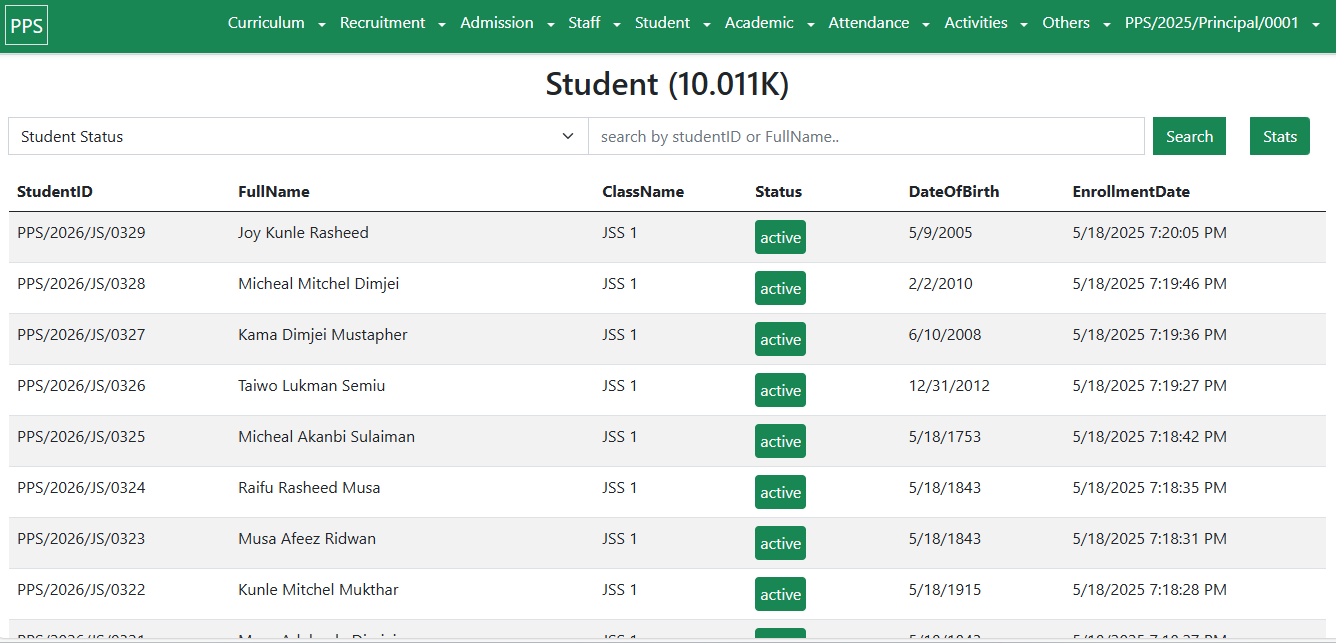
Student Management
Retrieve student records by Student ID or Full Name.
Modify details such as contact info, enrollment status, or assigned class.
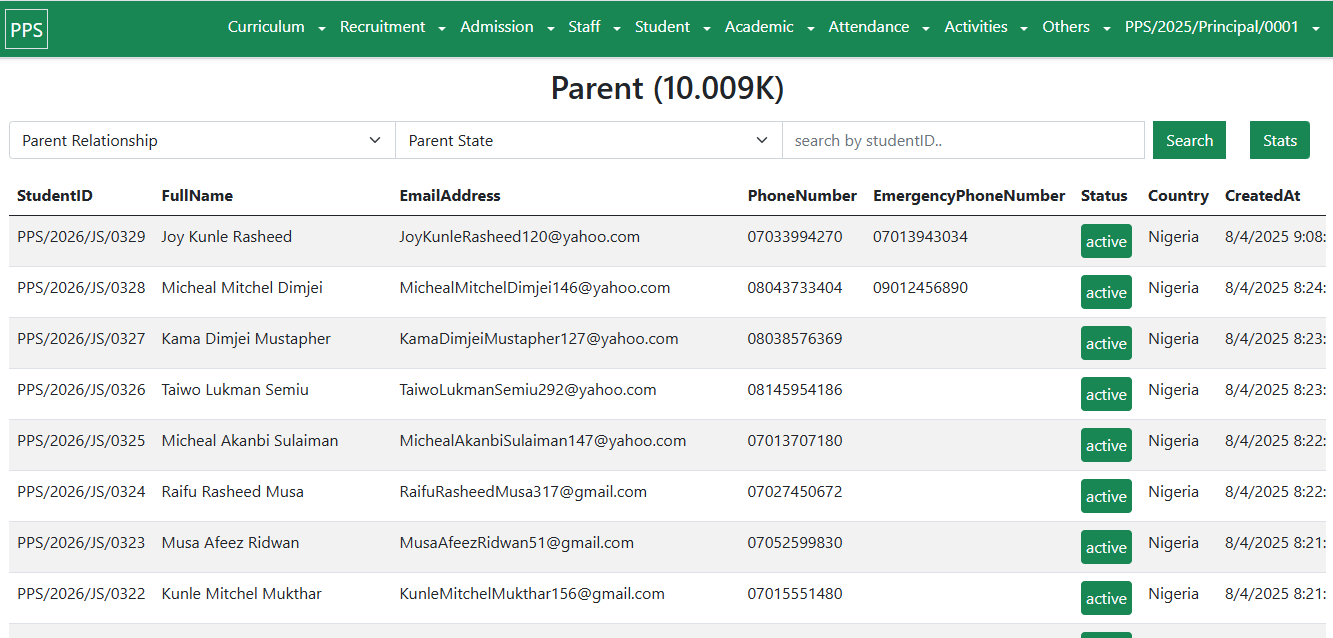
Parent Management
Retrieve and update parent/guardian details linked to a student via Student ID.
Manage contact info, occupation, and relationship to the student.
Outcome:
Accurate, centralized student & parent records.
Improved communication and accountability.
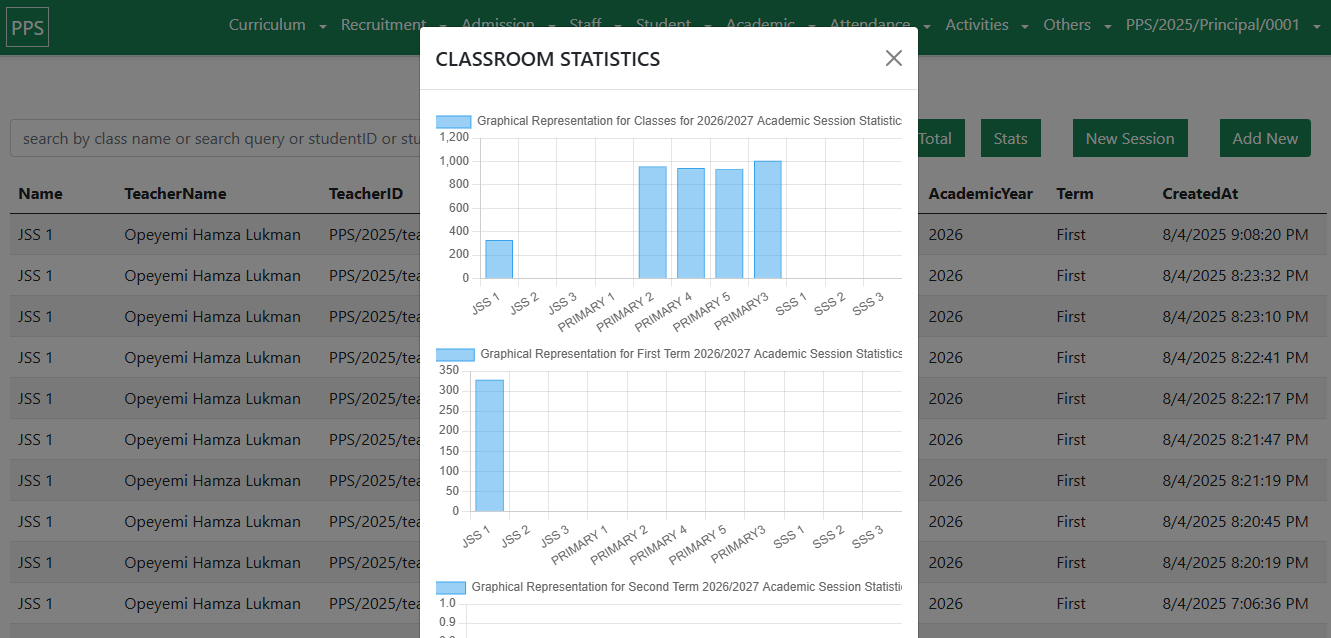
The Academic Activities module replicates real-world academic workflows in a structured digital environment.
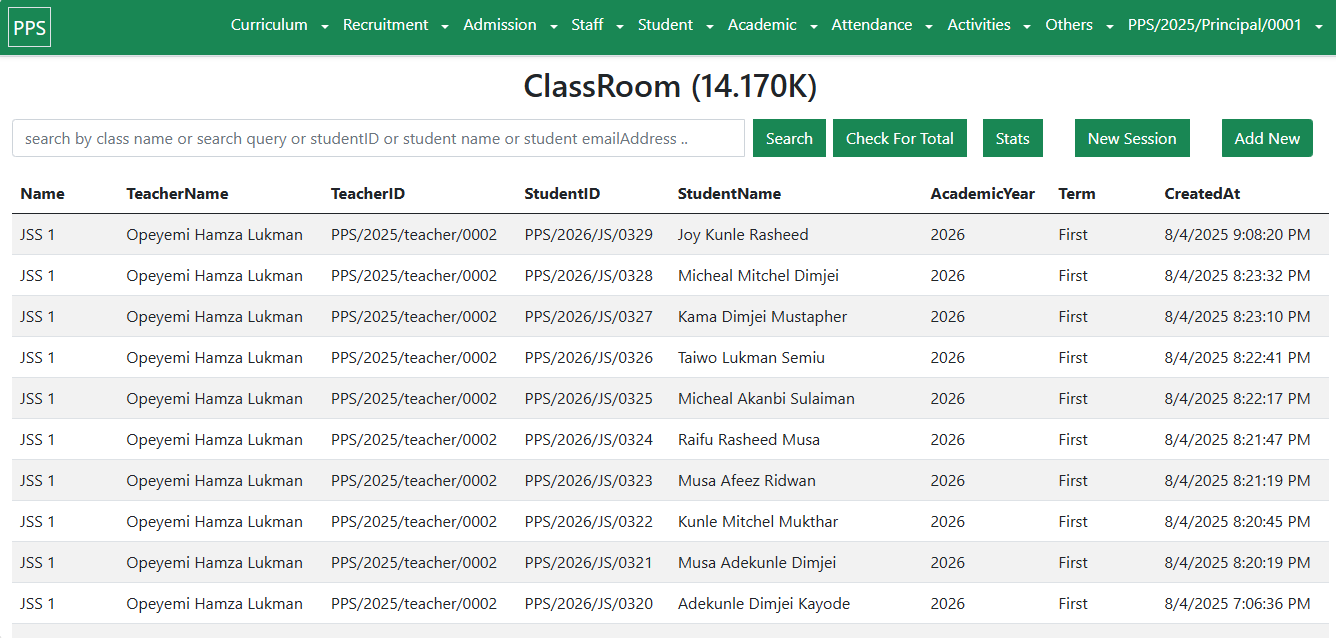
Organizes students into classrooms and enables smooth promotions.
Steps:
Navigate to Academics → Classroom.
Select Create New Classroom.
Enter:
Class Name (e.g., Primary 1)
Abbreviation (e.g., P1)
Sequence Number (Primary 1 = 1, Primary 2 = 2, etc.)
Select Create Classroom.
Outcome:
Students are grouped automatically into classes.
Note:
Use the Promotion Function at the start of a new session to move students to the next class.
Steps:
Navigate to Academics → Subjects.
Select Create New Subject.
Enter:
Class (e.g., Primary 3)
Subject Name (e.g., Mathematics)
Reference Document (upload PDF curriculum)
Status (Active/Inactive)
Select Create Subject.
Outcome:
Each class is linked to its required subjects.
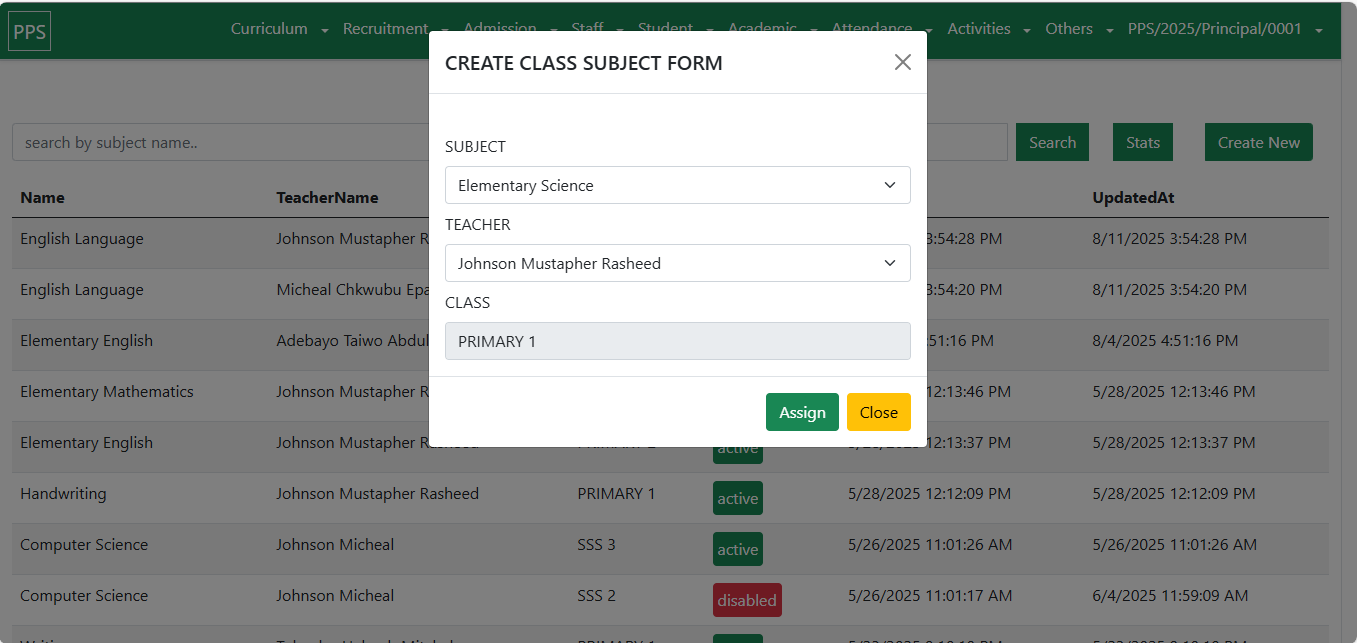
Assigning a Teacher to a Subject
Navigate to Academics → Class Subject Assignment.
Select the Class and Subject.
Choose the Teacher.
Select Assign Teacher.
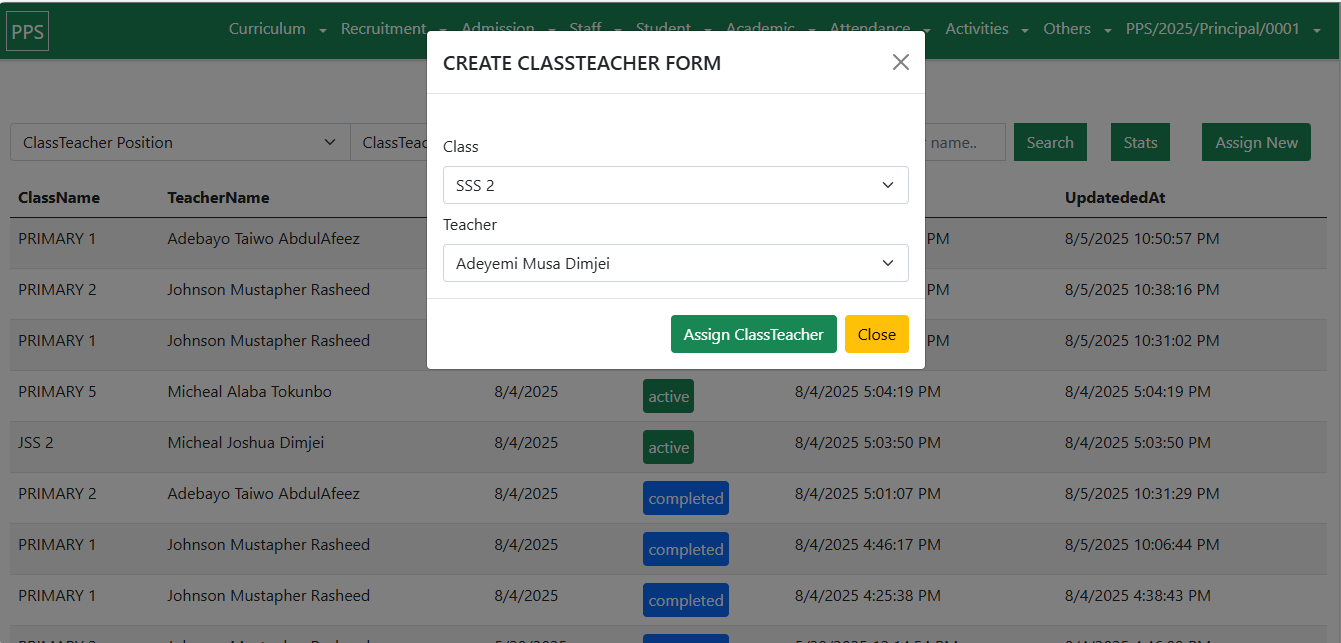
Appointing a Class Teacher
Navigate to Academics → Class Teacher.
Select the Class.
Choose the Teacher.
Select Appoint Teacher.
Outcome:
Teachers are officially assigned to subjects and classrooms.
Warning:
Each class must have only one class teacher to avoid conflicts.
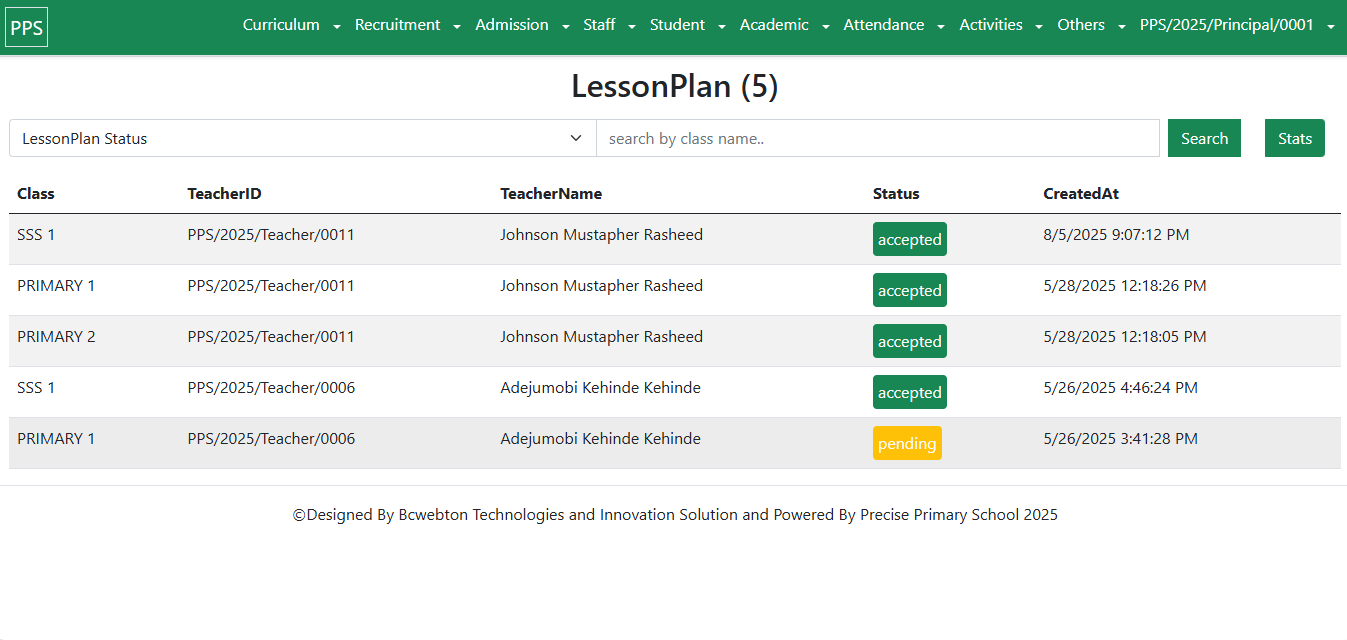
Steps:
Navigate to Academics → Lesson Plan.
Select Upload New Plan.
Enter Lesson Title and Class/Subject.
Upload PDF lesson plan.
Submit for approval.
Outcome:
Approved plans serve as the official teaching guide.
Steps:
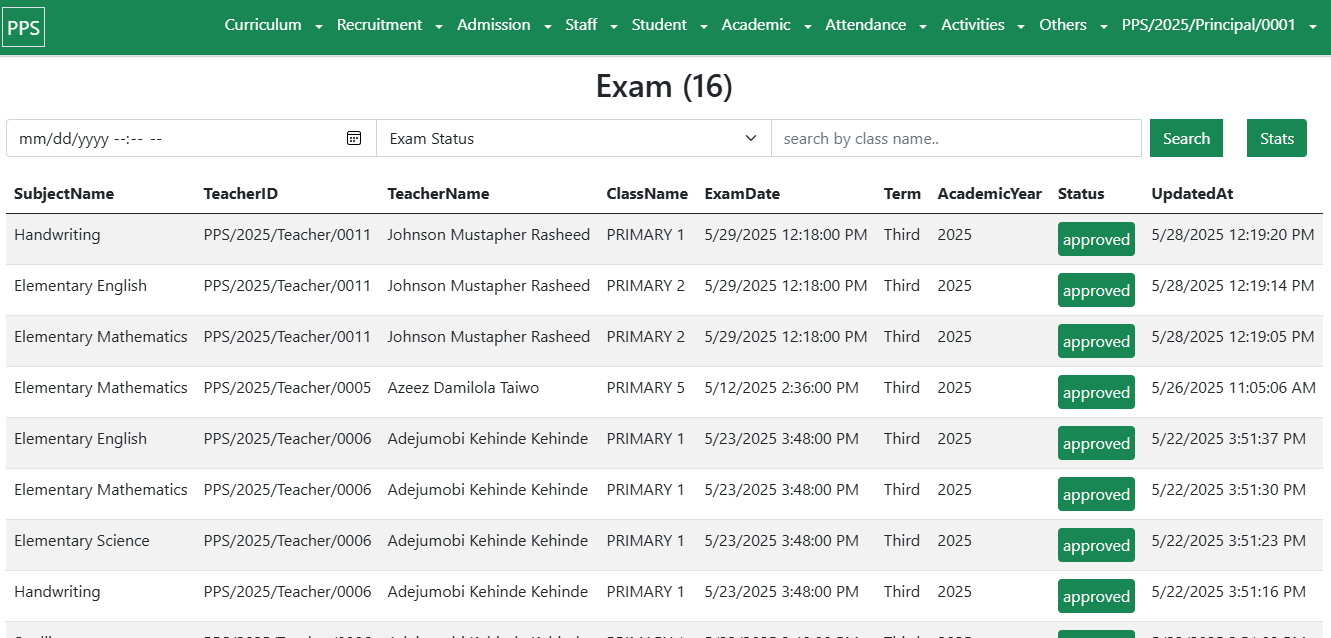
Navigate to Academics → Examinations.
Select Create New Exam.
Enter Exam Details (Class, Subject, Title).
Upload Exam Questions (PDF).
Submit for approval.
Outcome:
Exams are securely stored and released only after approval.
Steps:
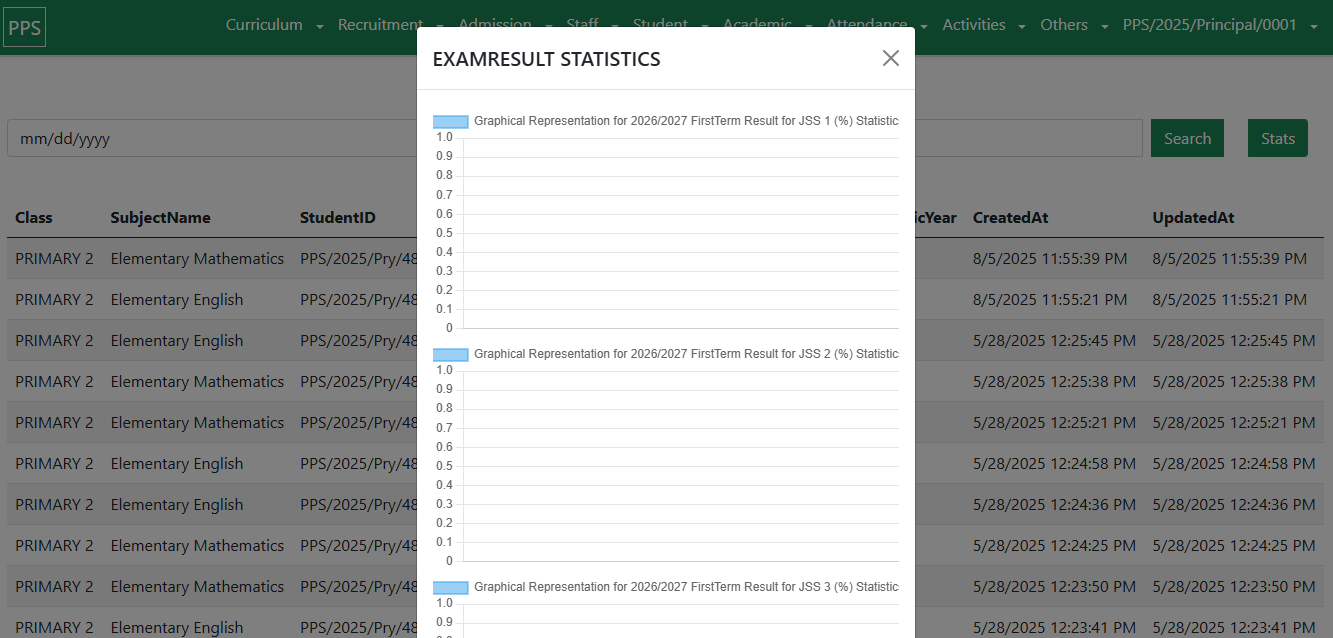
Navigate to Academics → Results.
Select the relevant Exam.
Enter Student Scores.
Submit for verification.
Outcome:
Results are securely stored for analysis and reporting.
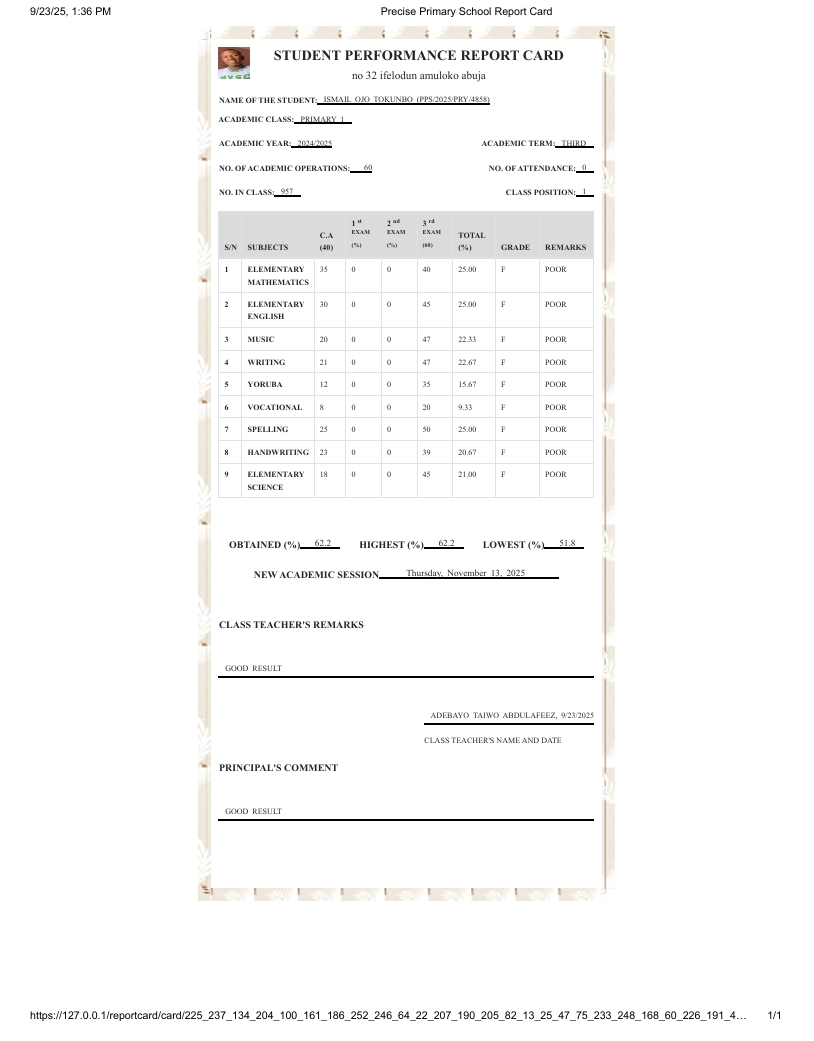
Steps:
Navigate to Academics → Report Cards.
Select the Class and Term.
Review Preview.
Select Generate Report Cards.
Outcome:
Digital report cards are generated, printable, and shareable electronically.
Note:
The Report Card Border Frame is flexible and can be customized.

The School Operations Module ensures seamless integration of admissions, student management, parent information, classroom activities, examinations, and reporting. This end-to-end automation promotes:
Efficiency in managing school workflows.
Transparency in academic performance.
Accountability across staff, students, and parents.
Comments